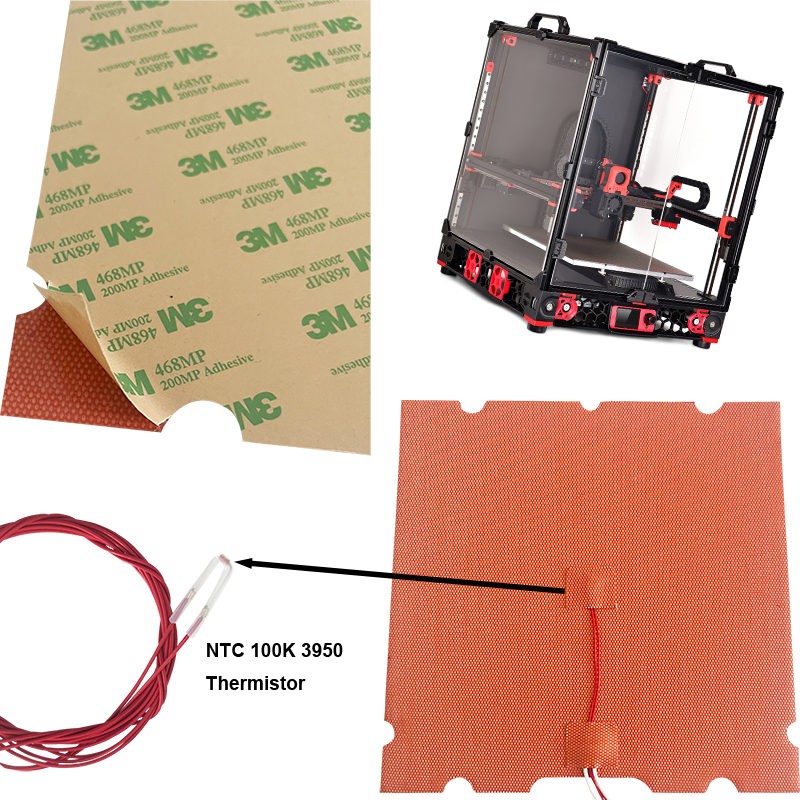

Silicone Heater for 3d Printer
Maximum Watt Density: 12 W/in²
Maximum Operating Temperature: 482°F (250°C)
Minimum Operating Temperature: -70°F (-56.6°C)
Wattage Tolerance: ±10%
Dielectric Strength: 1000 VAC
Certificate: CE, UKCA, RoHS, UL(for all raw materials)
How to select and install a silicone bed heate?
To select and install a silicone bed heater for a 3D printer, you'll first need to determine the correct size and wattage for your printer's build plate. Then, you'll need to prepare the surface of the build plate, attach the heater, and connect the wiring, often involving an SSR and power supply.
1. Selecting the Right Silicone Bed Heater:
Size:
Measure your printer's build plate dimensions to choose a heater that matches or slightly exceeds the size.
Wattage:
Consider the voltage and desired heating time. Higher wattage heaters will heat up faster but may require a more robust power supply.
Voltage:
Ensure the heater's voltage matches your power supply (e.g., 12V or 24V, 110V, 220V).
Features:
Look for features like a built-in thermistor for temperature monitoring and a high-quality adhesive backing for secure attachment.
2. Preparing the Build Plate:
Clean the surface: Thoroughly clean the build plate with a solvent like acetone or isopropyl alcohol to ensure good adhesion.
Scuff the surface: Lightly scuffing the surface with sandpaper can improve the adhesion of the silicone heater.
Remove any obstructions: Ensure the surface is free of any debris, dust, or old adhesive residue.
3. Installing the Silicone Bed Heater:
Align the heater:
Carefully position the heater on the build plate, ensuring it's properly aligned with the edges and any mounting holes.
Adhesive application:
If the heater doesn't have a self-adhesive backing, you may need to apply a heat-resistant adhesive like RTV silicone.
Apply pressure:
Once the heater is in place, apply firm, even pressure to ensure good contact with the build plate, working from the center outwards to remove any air bubbles.
Secure the wiring:
If the heater has its own wiring, route it carefully through any existing cable management or channels on the printer.
4. Wiring the Silicone Bed Heater:
SSR (Solid State Relay):
A Solid State Relay (SSR) is often used to switch the high-voltage power to the heater, while the printer's control board controls the SSR.
Power Supply:
A dedicated power supply is needed to provide the correct voltage to the heater.
Safety Precautions:
Always disconnect the printer from the power source before working with electrical components. Consult the documentation and ensure you have the correct tools and knowledge for wiring.
Thermal Fuse:
Consider adding a thermal fuse to the heater circuit for added safety, especially when using AC heaters.
Testing:
Once wired, test the heater to ensure it's heating up properly and the thermistor is accurately reporting the temperature.
5. Specifications
Material: | Silicone rubber+metal wire |
Size: | Customized(Min 10x10mm) |
Thickness: | 1.5mm(±0.1mm) except at lead wire exit |
Voltage: | Customized |
Wattage: | 12 W/in² |
Lead wire: | 1000mm teflon wire |
Dielectric Strength: | 1250 VAC |
Maximum Temperature: | Heaters without pressure sensitive adhesive, 232°C (450°F); heaters with pressure sensitive adhesive, 180°C (356°F) |
Minimum Temperature: | -56°C (-70°F) |
Installation: | Double side adhesive, Spring, Screw holes, Vercro and so on..... |
Power connection method: | Plug, Connector and so on... |
Temperature control: | integrated NTC 100k thermistor |
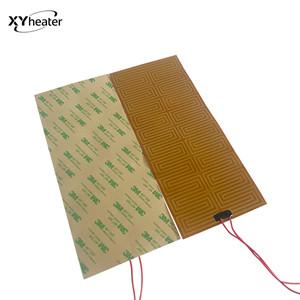
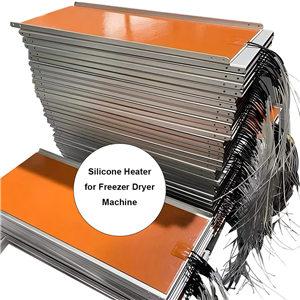
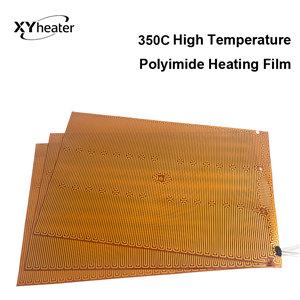
6. Pictures

CATEGORIES
LATEST NEWS
CONTACT US
Contact: Cici
Phone: +86-18126067721
Tel: +86-18126067721
Email: sales008@xyheater.com
Add: Room A531, Building A, Jinchi Fortune Plaza, Shiyan Subdistrict, Bao'an District, Shenzhen City, Guangdong Province